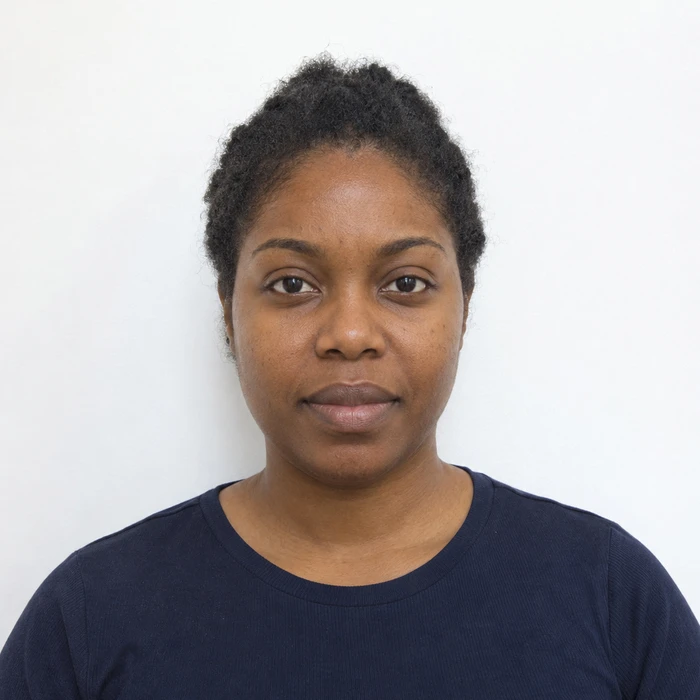
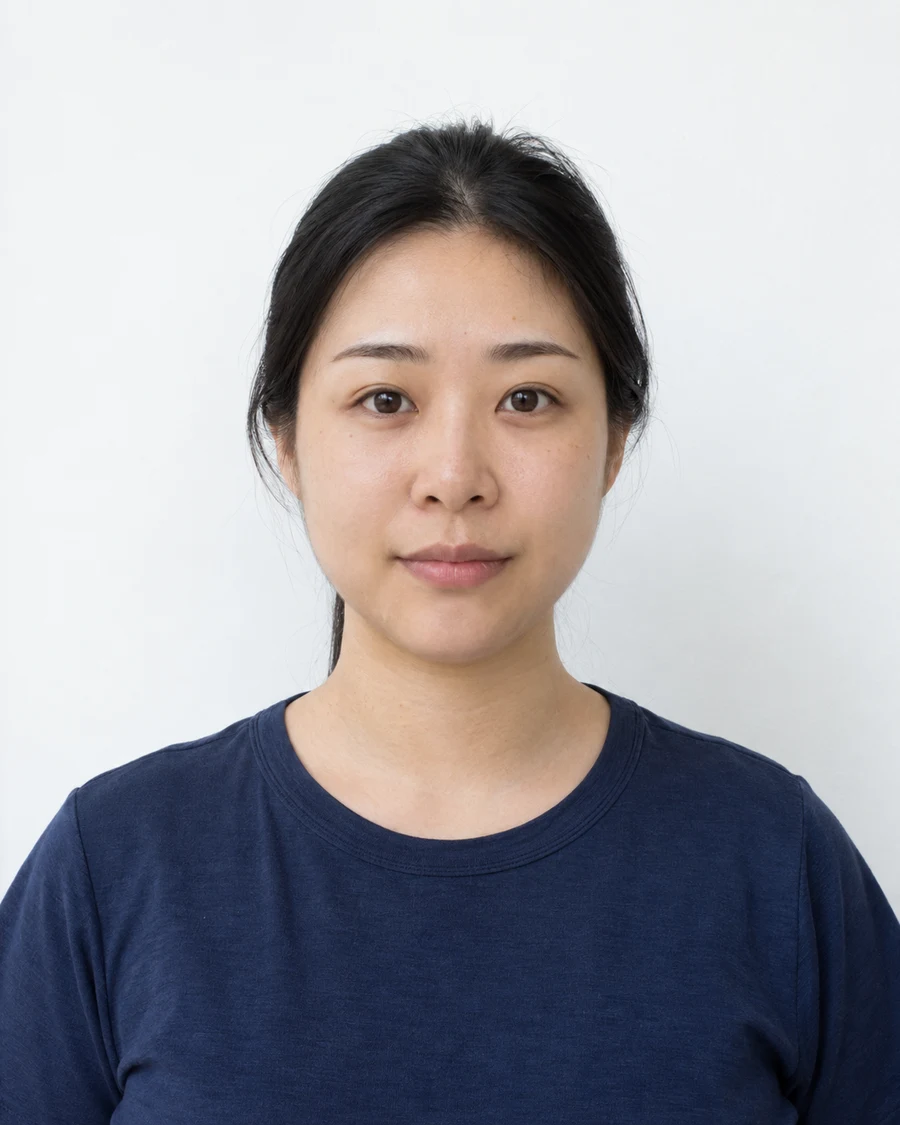
Identify which shadow you are seeing
A dark patch on the wall and a dark patch across the face are different problems. Start by looking at the wall around the head, then inspect the eyes, nose and chin. If the background alone is shaded, the subject may be too close to it. If one side of the face is dark, the light may be coming too strongly from the other side.
US passport guidance asks for an evenly lit face and a shadow-free background. Rather than trying several editing tools, take a trial frame and make one physical change at a time. You will be able to see which part of the setup is responsible.
Create space between the person and the wall
Move forward from the background while keeping the camera at eye level. A shadow that was sharp and directly behind the head may become less conspicuous when the person is farther from the wall. Leave the camera enough room too, rather than moving it very close to compensate.
Check the whole area that will remain in the finished crop. A shadow just outside a narrow preview may reappear when the image is framed to a different document size. Keep a slightly wider original so you can judge the background around the shoulders as well as around the head.
Make the light broader and more even
A window with indirect daylight is a useful place to test. Arrange the person so the light reaches the face without requiring them to turn away from the camera. If one cheek is bright and the other is dark, change the position relative to the window and take another frame.
Switch off a conflicting overhead light if it creates dark eye sockets or an uneven color. Avoid direct sun across the face. It can make the person squint and create hard-edged shadows that are difficult to avoid with a small change in posture.
Know when a retake is the useful fix
Brightening a shaded face does not necessarily restore detail that was never captured clearly. Digital background replacement also does nothing to correct a shadow across the eyes. If the face is the problem, another well-lit original is the more useful starting point.
Check the new frame before packing away the setup. Look at both eyes, the side of the nose and the lower face. When the lighting is even, keep the camera and subject in place and take a short set of images so you can choose a clear frame with the required expression.
Sources and further reading
US Department of State · Passport photo requirements ↗Requirements can change. Check the official instructions for your application before submitting.
Merodim is an independent photo-preparation service, not a government agency. Find your document →