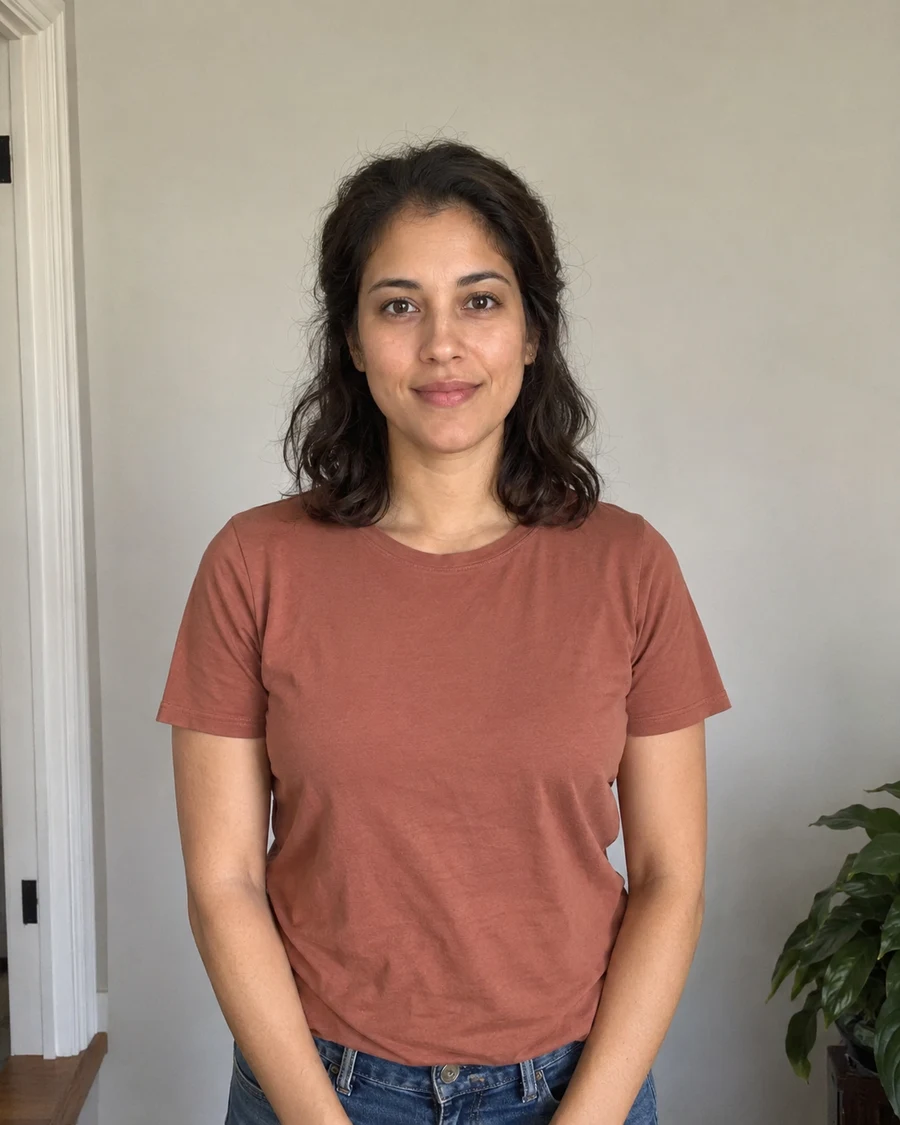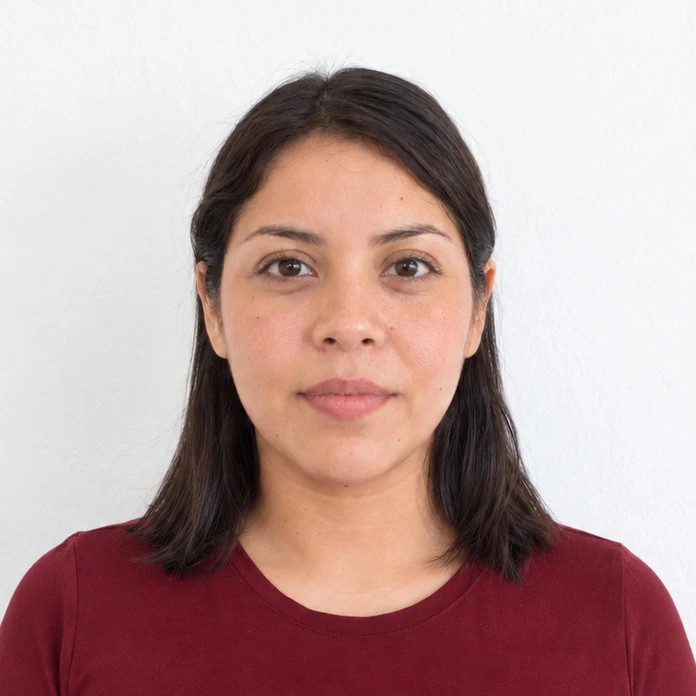
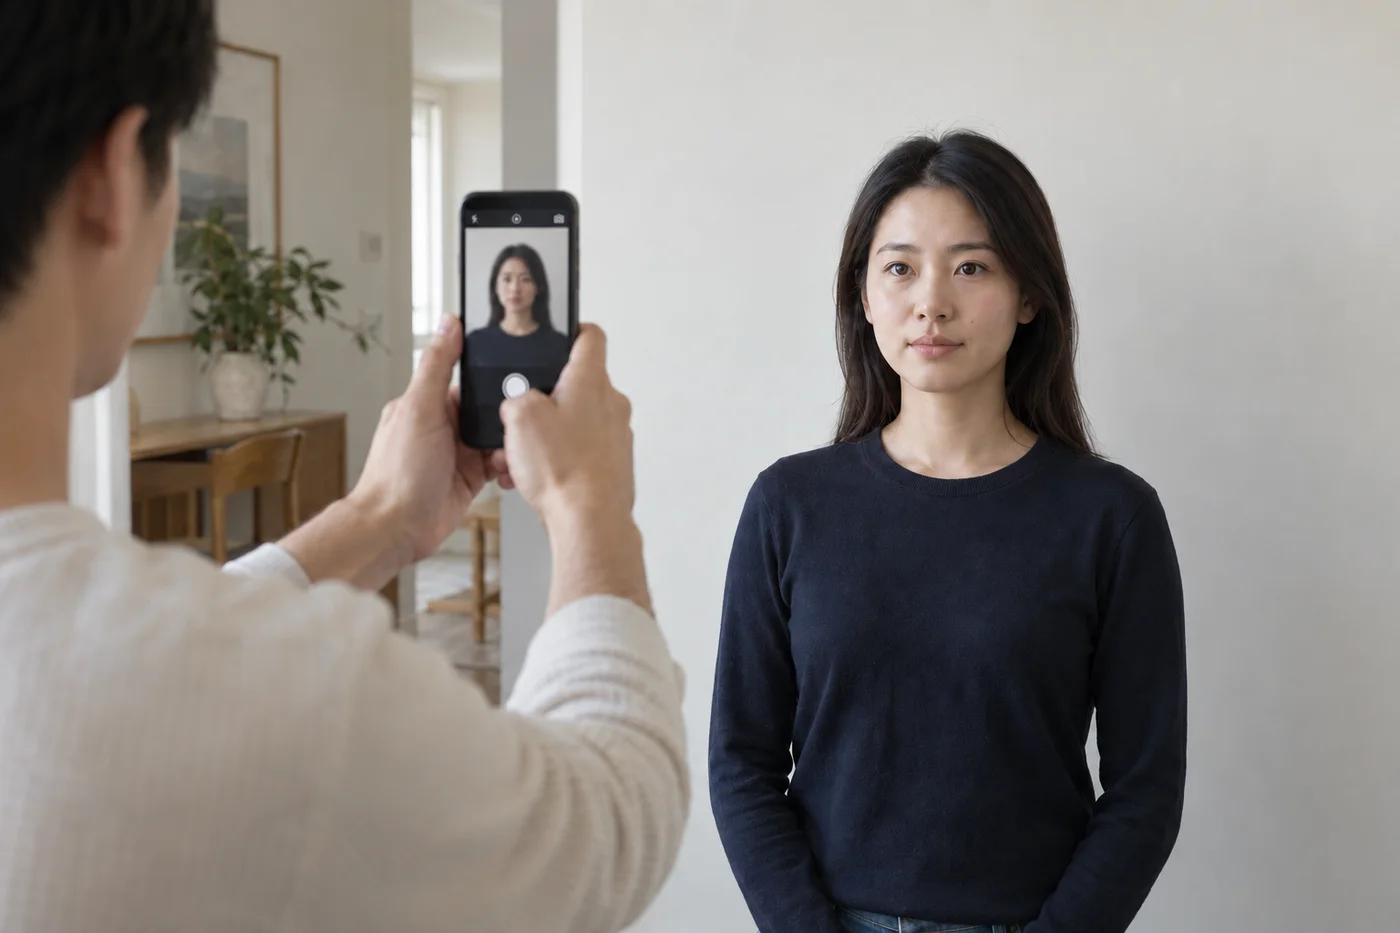
1. Confirm the application
Open the official instructions for your document and submission method. Can you take the photo yourself? Does the application need a digital original, a prepared upload or a print? Note any photographer or appointment requirement before continuing.
2. Check the background and light
Use a plain background in the required color. Take a trial photo and look for a shadow behind the head or across the face. Check for visible texture, objects and colored room lighting.
3. Position the camera at eye level
Ask a helper to hold the camera level with your eyes, whether you are standing or seated. Leave enough distance to avoid close-up distortion. Follow the document’s pose instructions and keep necessary supports in place.
4. Leave room for framing
Include the whole head and shoulders with space above and on both sides. A wider original gives you room to frame the photo; a crop cannot restore missing parts of the head.
5. Inspect the face at full size
Zoom in and check the eyes for focus and reflections. Move hair that obscures facial detail. Confirm the expression, glasses and headwear meet the relevant rules, including any religious or medical exceptions.
6. Keep an unedited original
Turn off face enhancements and filters before capture. Save the original camera file at full resolution and make a separate copy if another format is needed. When it is time to submit, select the final file rather than the watermarked preview.
Sources and further reading
US Department of State · Passport photos ↗HM Passport Office · Digital photos ↗New Zealand Passports · Photo guidance ↗Requirements can change. Check the official instructions for your application before submitting.
Merodim is an independent photo-preparation service, not a government agency. Find your document →