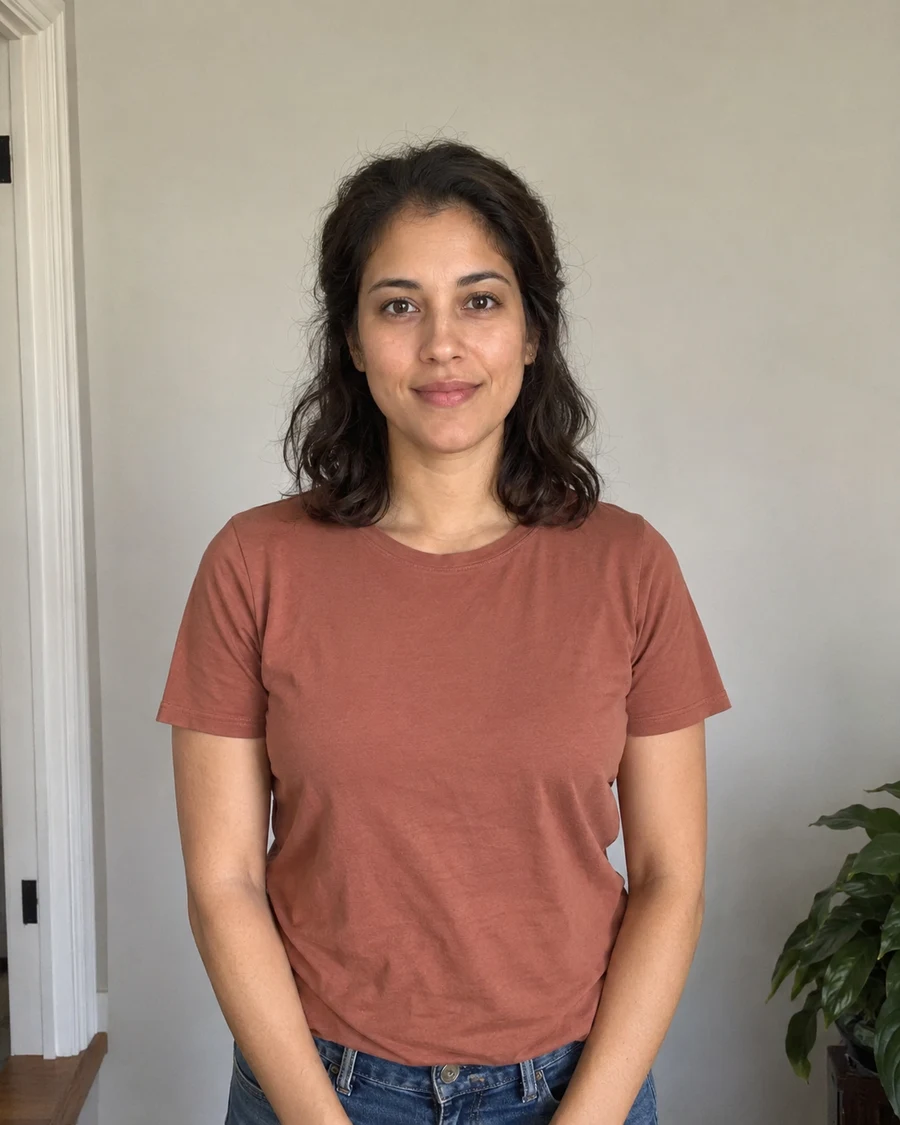
Check that a home photo is accepted
Find the instructions for the document and application method you are using. Some applications allow a photo taken at home; others require a photographer or an appointment. Online and paper applications can also ask for different files.
Keep the requirements open while you work, particularly the background, expression and editing rules. If the application asks for an uncropped original, leave the final framing to that application’s process.
Set up beside soft daylight
Face a window with indirect daylight and choose a plain background in the required color. Leave some space between yourself and the wall so your head does not cast a strong shadow behind you. A window behind your head will usually make the face harder to expose evenly.
Take a trial photo and compare both cheeks and the area under your eyes. If one side is much darker, turn the setup toward the light. If sunlight creates a bright stripe across the face, move out of it or try a different time of day.
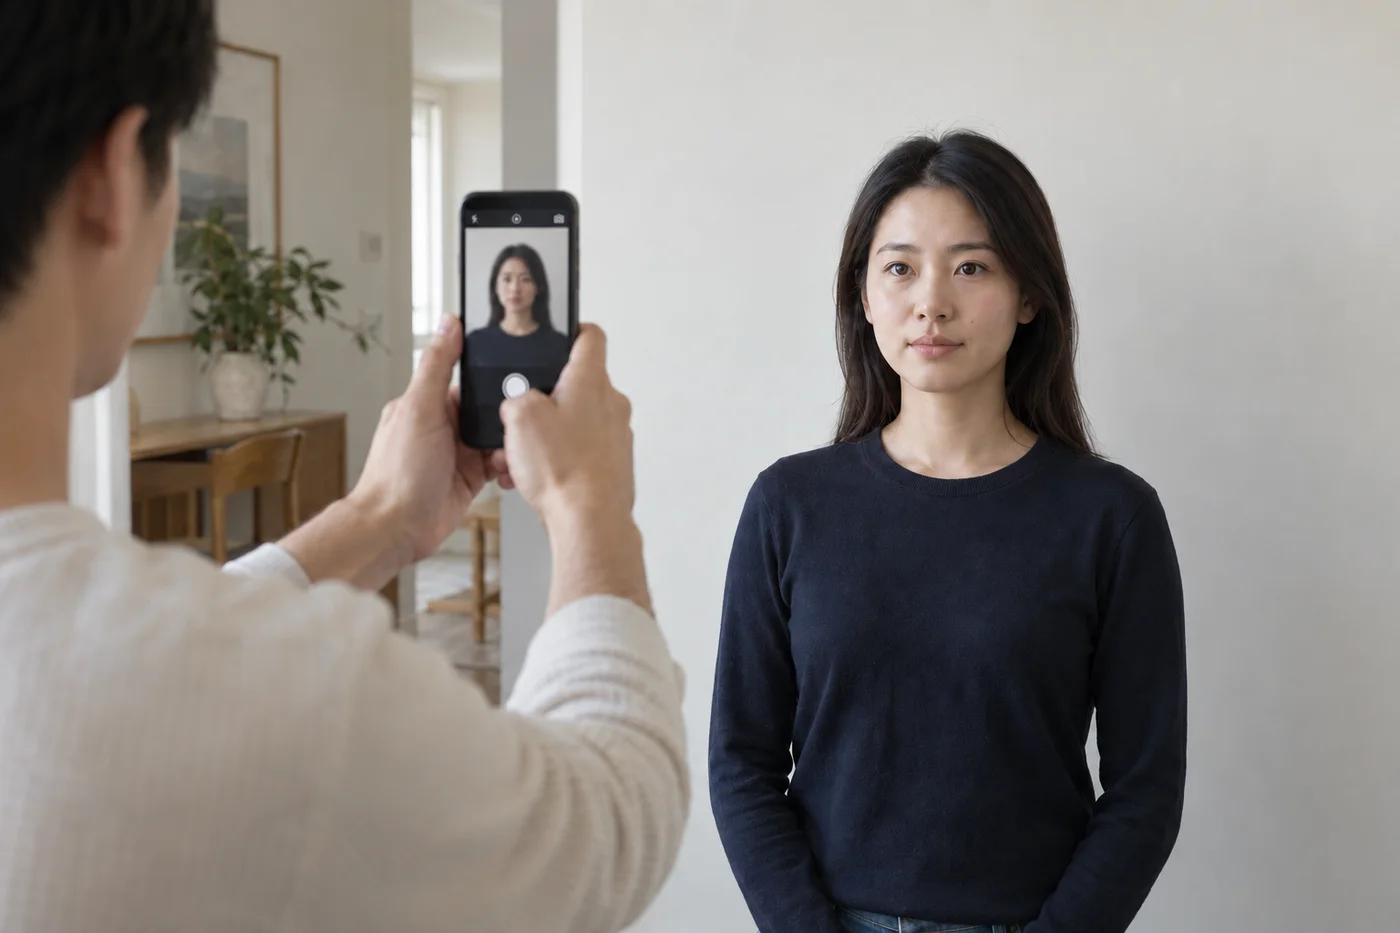
Ask someone to use the rear camera
Wipe the lens and have your helper hold the phone at your eye level. Use the main rear camera and leave enough distance that your facial proportions look natural. A close selfie or an ultra-wide lens held near the face can exaggerate the nose and change the apparent shape of the head.
Include the whole head, shoulders and some upper chest, with spare room above and on each side. Keep the phone upright and level. You do not need to squeeze the final document crop into the camera frame.
Use ordinary Photo mode
Turn off filters, beauty effects, skin smoothing and artificial background blur. On an iPhone, use Photo rather than Portrait mode. Android camera settings vary, so look for enabled face-retouching or beauty options before taking the picture.
Tap the face to focus, hold the phone steady and take several frames. The setup is the same on either platform; the useful question is whether the original records your appearance clearly.
Choose the sharpest suitable frame
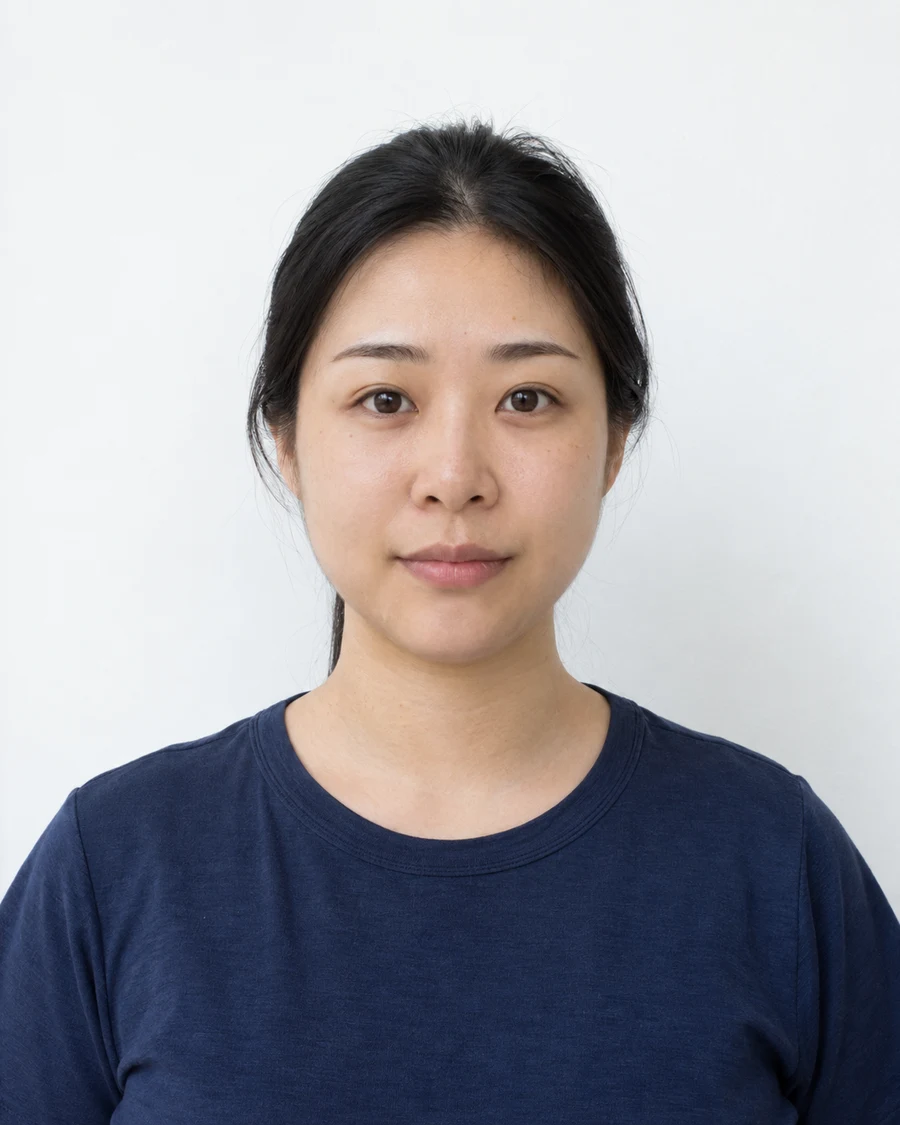
Open the photographs in your gallery and zoom in. Compare the eyes for focus, check for motion blur and look for hair or reflections covering facial detail. Also check the pose and expression against your document’s instructions.
If the light or pose is wrong, take another photo while the setup is still in place. A picture that looks good as a thumbnail may reveal a problem at full size.
Upload the original camera file
Keep the full-resolution original. Avoid sending a screenshot or a copy saved from a messaging app, which may have reduced the quality. If you need another file type, export a copy without applying filters; changing the filename extension will not convert it.
Merodim’s web preview accepts JPEG, PNG and WebP. If your camera saves HEIC, export a supported copy for the preview. Save the finished download separately from the watermarked preview so you can identify the right file when you apply.
Sources and further reading
US Department of State · Passport photos ↗HM Passport Office · Digital photos ↗New Zealand Passports · Photo guidance ↗Apple · Portrait and depth effects ↗Google Pixel · Face retouching settings ↗Requirements can change. Check the official instructions for your application before submitting.
Merodim is an independent photo-preparation service, not a government agency. Find your document →